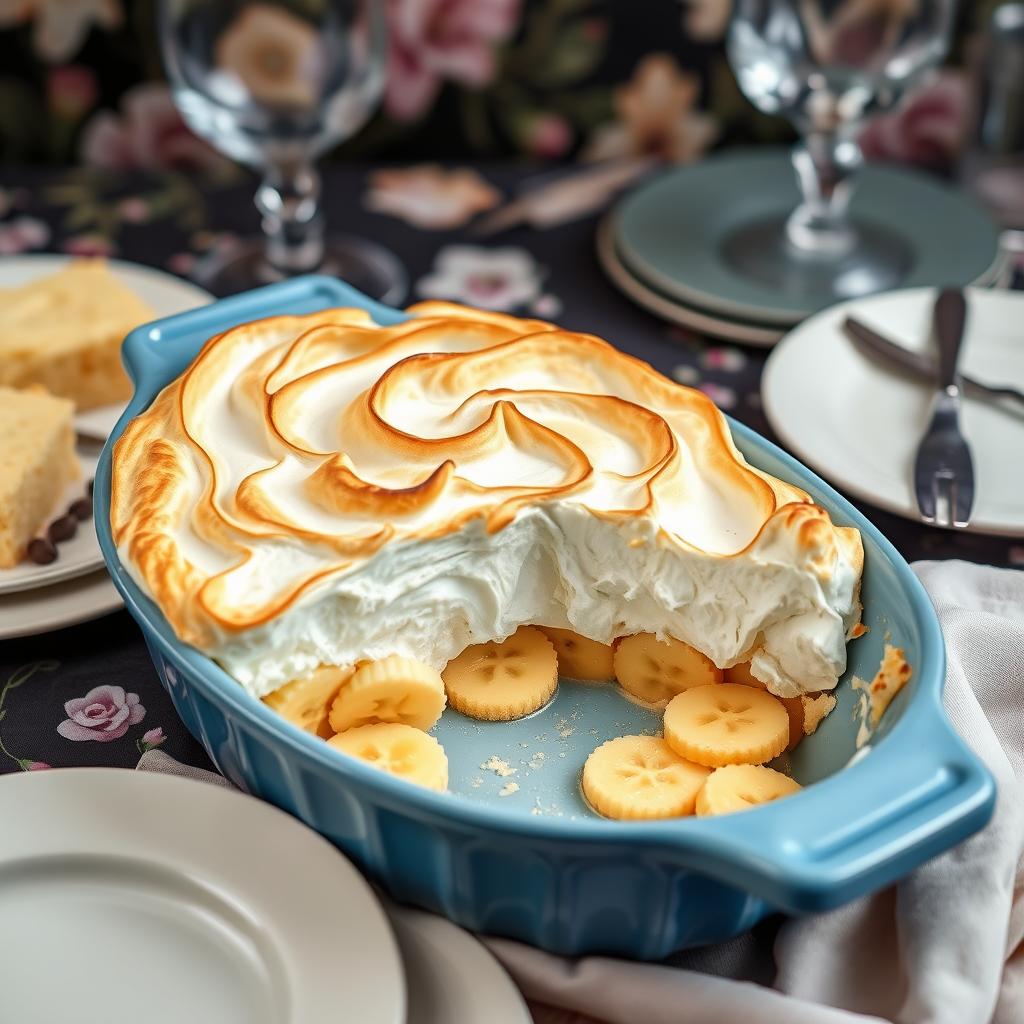
Mama’s Banana Pudding is a sweet Southern favorite that has been cherished by families for generations. It’s the kind of dessert that brings warmth to any occasion, filling the room with love and laughter as everyone dives into its creamy layers. Not only is this pudding delicious, but it’s also a no-fuss recipe that even kids can help make. So today, I’m excited to share this classic dessert with you, with simple steps and easy-to-follow instructions.
It’s a dessert that isn’t just about taste; it’s about tradition. In fact, banana pudding is so beloved that it’s often the star of family gatherings, from holiday feasts to summer cookouts. You’ll find that the secret ingredient here isn’t just the bananas or the vanilla wafers – it’s the joy of sharing something comforting and nostalgic.
As we go through each step together, you’ll discover what makes this dessert so special. You’ll also learn about some unique ways to add your own twist to the recipe. In the end, you’ll have a dessert that’s not only delicious but also wrapped in memories.
History of the Recipe
Did you know that banana pudding has deep roots in Southern cooking? The recipe actually dates back to the late 19th century, when bananas were first imported to the United States. Back then, people began experimenting with this new, exotic fruit, and soon banana pudding was born. Originally, it was a simple custard layered with sponge cake, but it quickly evolved into the comforting dessert we know today.
Banana pudding has grown in popularity over the years, especially in the Southern states. It’s become a staple at potlucks, family reunions, and holiday dinners. In fact, many families have their own unique version of banana pudding, passed down from one generation to the next. Today, we celebrate this dessert as a symbol of togetherness and family.
No wonder this dessert has such a strong following – it’s not just food; it’s a part of family tradition. And while there are many ways to make banana pudding, the recipe we’ll explore today pays homage to its traditional roots while also allowing for some fun modern twists.
Chef Olivia’s Notes
Now, let me share a few notes to make this pudding even better. First, when choosing bananas, look for ones that are ripe but not too soft. Ripe bananas add natural sweetness, but overly ripe bananas might turn mushy. Additionally, I always recommend using high-quality vanilla wafers. They’re the foundation of the pudding and give it a delightful texture.
Another tip? Don’t rush the layering! Take your time to arrange the wafers and bananas in a way that makes each bite perfect. Not only does it look beautiful, but it also ensures that every spoonful has a balanced mix of flavors. For those who enjoy a bit of variety, you can experiment with flavors. For instance, try using a splash of banana liqueur in the custard for an extra kick.
In addition, while the classic recipe includes a creamy custard, you can also swap it with a vanilla pudding mix for a quicker option. Just make sure to fold in whipped cream or Cool Whip to keep it light and airy. This adds a smooth, velvety texture that elevates the entire dessert.
Ingredients
Let’s gather everything we need for this classic dessert:
- Vanilla Wafers: About one box – you’ll use these to create the lovely layers.
- Bananas: 4-5 ripe bananas, sliced
- Custard: Sugar, flour, milk, and eggs are the base for a homemade custard. Alternatively, you can use vanilla pudding mix.
- Cream Cheese: Adds a delightful richness to the pudding.
- Whipped Topping: Cool Whip or homemade whipped cream for added creaminess.
- Extras: Vanilla extract, and if you like, a pinch of salt for balance.
These ingredients will come together to create a layered pudding that’s as delicious as it is comforting. If you’d like to add a little flair, consider garnishing with some crushed vanilla wafers or a sprinkle of cinnamon.
Extras for Serving
When it comes to serving, presentation is key! In fact, you can make this dessert look as good as it tastes with just a few simple touches. Here are some ideas:
- Garnish with Banana Slices: Just before serving, add fresh banana slices on top. Not only does it look lovely, but it also adds a burst of freshness.
- Add a Caramel Drizzle: Drizzle caramel sauce over the pudding for an extra layer of sweetness.
- Crushed Vanilla Wafers: Sprinkle crushed wafers on top for a bit of crunch and visual appeal.
These little extras will make your banana pudding shine, whether you’re serving it at a casual get-together or a formal event. Don’t be afraid to get creative – the pudding is your canvas!
Instructions
Now, let’s make this delicious dessert step-by-step. It’s a simple process that yields an impressive treat!
- Prepare the Custard: In a medium saucepan, mix sugar, flour, and a pinch of salt. Add milk and cook over medium heat, stirring constantly until the mixture thickens. In a separate bowl, whisk the eggs and slowly add them to the warm custard. Continue to cook until fully thickened.
- Layering the Ingredients: In a baking dish, start with a layer of vanilla wafers. Next, add a layer of sliced bananas, followed by a layer of custard. Repeat this process until you’ve filled the dish, ending with a layer of custard.
- Whipped Topping: Spread a layer of whipped topping or Cool Whip over the custard. This adds a beautiful, creamy finish to the pudding.
Once you’ve assembled your pudding, refrigerate it for at least 2 hours. This gives the flavors time to meld together, making each bite rich and delightful.
Prep Time and Cook Time
- Prep Time: 15 minutes
- Cook Time: 10 minutes
- Total Time: 25 minutes + chilling time
This recipe is quick to assemble, but don’t forget to chill it! Allowing time for the flavors to come together is what makes banana pudding so delicious.
Recipe Category
- Cuisine: Southern
- Category: Dessert
- Method: Stove-top and/or no-bake for quick assembly
This banana pudding recipe is perfect for a variety of occasions, whether it’s a potluck, holiday party, or just a simple family dessert.
Nutrition Facts Per Serving
- Calories: Approximately 250
- Total Fat: 9g (14% DV)
- Cholesterol: 30mg (10% DV)
- Sodium: 140mg (6% DV)
- Total Carbohydrates: 36g (12% DV)
- Dietary Fiber: 2g (8% DV)
- Sugars: 18g
- Protein: 4g
- Vitamin A: 6%
- Vitamin C: 15%
- Iron: 4%
- Potassium: 8%
- Phosphorus: 10%
Notes
Here are a few helpful tips and tricks:
- Storage: Store the pudding in the refrigerator for up to 3 days. Keep it tightly covered to maintain freshness.
- Make-Ahead: This dessert tastes even better the next day, as the flavors have time to blend.
- Variations: Try adding a hint of cinnamon or nutmeg to the custard for a warm spice flavor.
Frequently Asked Questions
- Can I use instant pudding mix instead of homemade custard? Absolutely! Just make sure to fold in whipped topping for a creamy texture.
- How long can I store banana pudding in the fridge? It’s best within 3 days, but it can last up to 5 if kept well covered.
- Can I freeze banana pudding? While it’s possible, the texture may change once thawed, so fresh is best!


